
Create and configure a Payment Link
Learn how to create, configure, and share payment links.
Overview
You can create and configure a payment link in the Lean Dashboard v2 (reach out to Lean for access to be enabled) or through the Payment Links API.
Lean returns a hosted checkout URL that you can share with your customer.
Before you begin
Before creating a payment link, make sure:
- you have access to the Lean Dashboard v2 or API
- you know which account should receive the payment
Optional: If you want to send customers back to your website or app after payment, provide a redirect_url. That URL must be registered in your application settings before you create the Payment Link.
If you pass an unregistered redirect_url, Lean returns an error when you try to create the link.
Create a Payment Link
Create a Payment Link through the Lean Dashboard v2 or Payment Links API to generate a hosted checkout page you can share with your customer.
To create a minimal Payment Link from the Lean Dashboard v2, go to Payments > Links and click Create payment link. You can also open the page directly at Create Payment Link page.
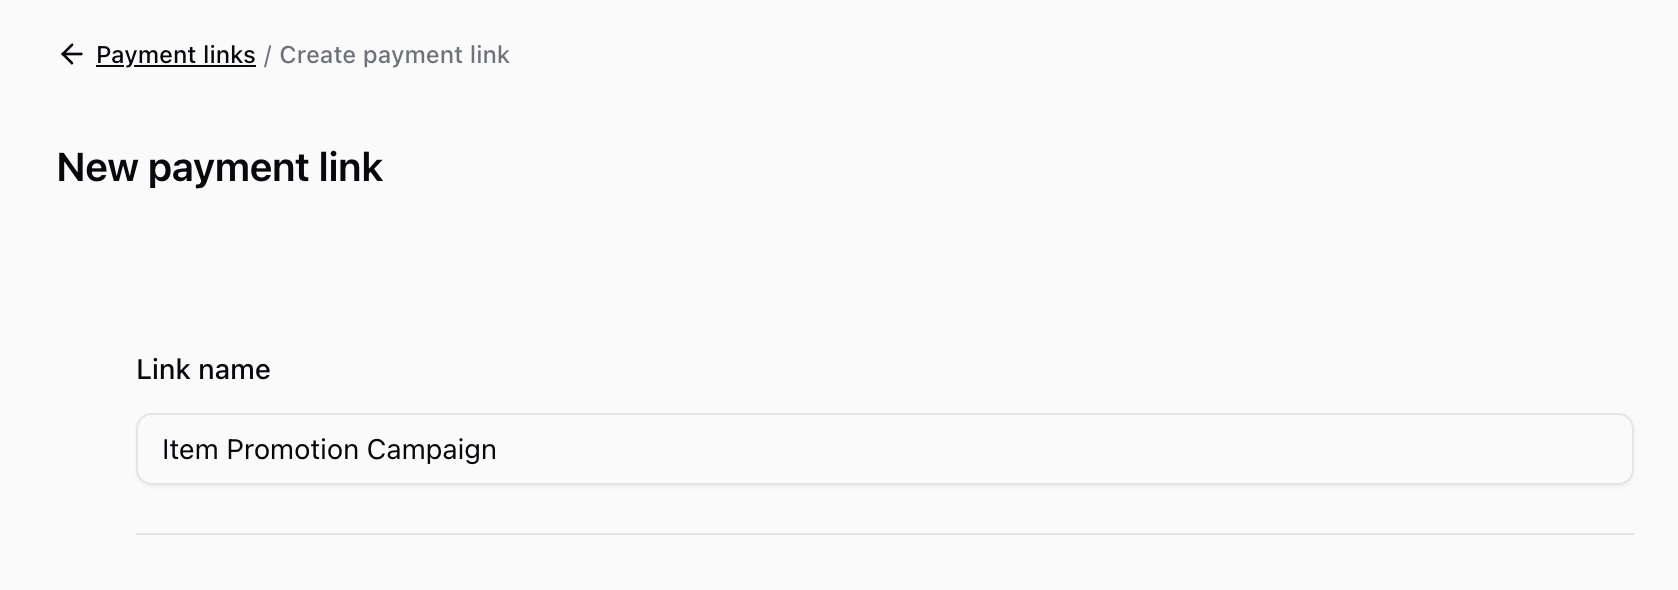
First, add a link name to make the link easier to identify later in the Dashboard.
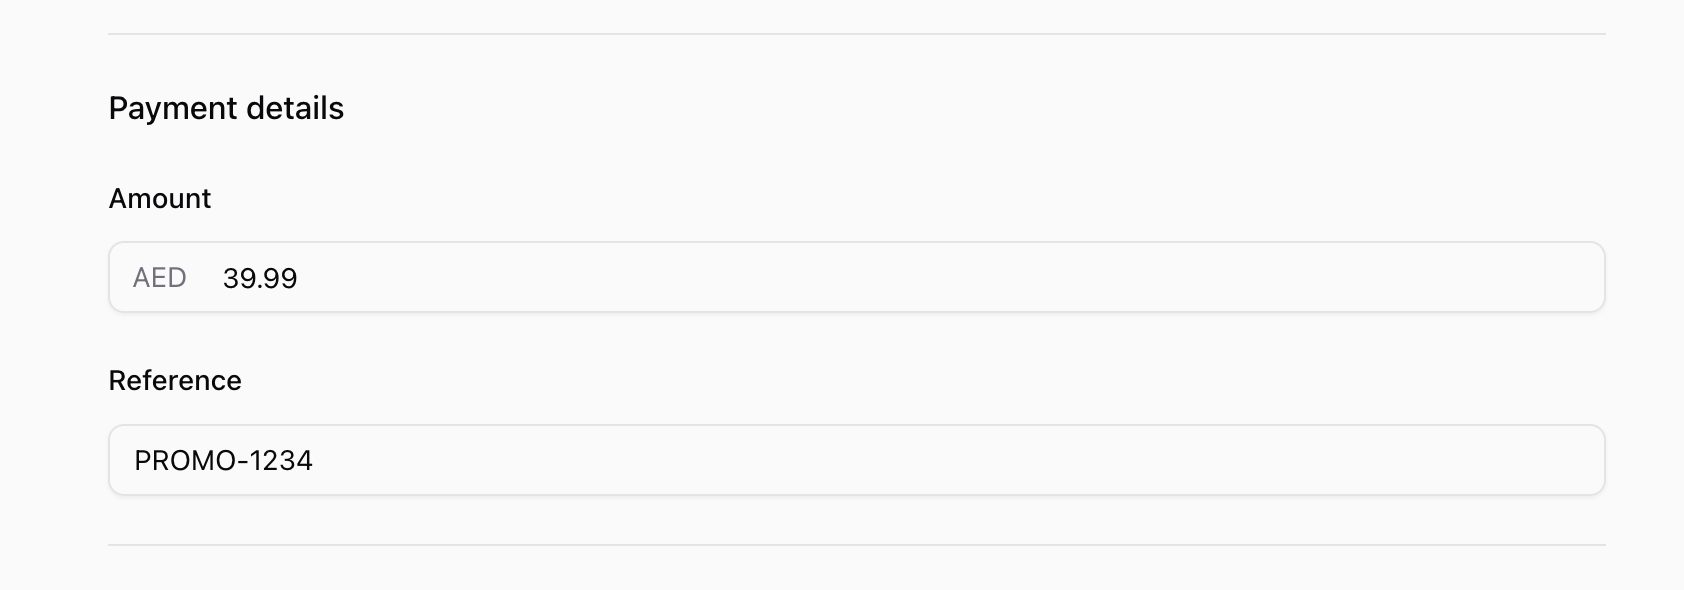
Fill in the required payment details. Enter the amount and reference.
Optionally provide a redirect_url for where customers should land after checkout.
A redirect URL is optional. If you provide one, it must be registered in the Dashboard before you create the Payment Link.

Payment Links can also collect identifiers from the customer during checkout. Identifiers are pieces of information captured together with the payment, such as the customer’s phone number, email address, or any custom text field you configure.
If you do not change the default settings, the payment link can accept up to 1,000 successful payments and captures only the customer's phone number.
When you are done, click Create payment link.
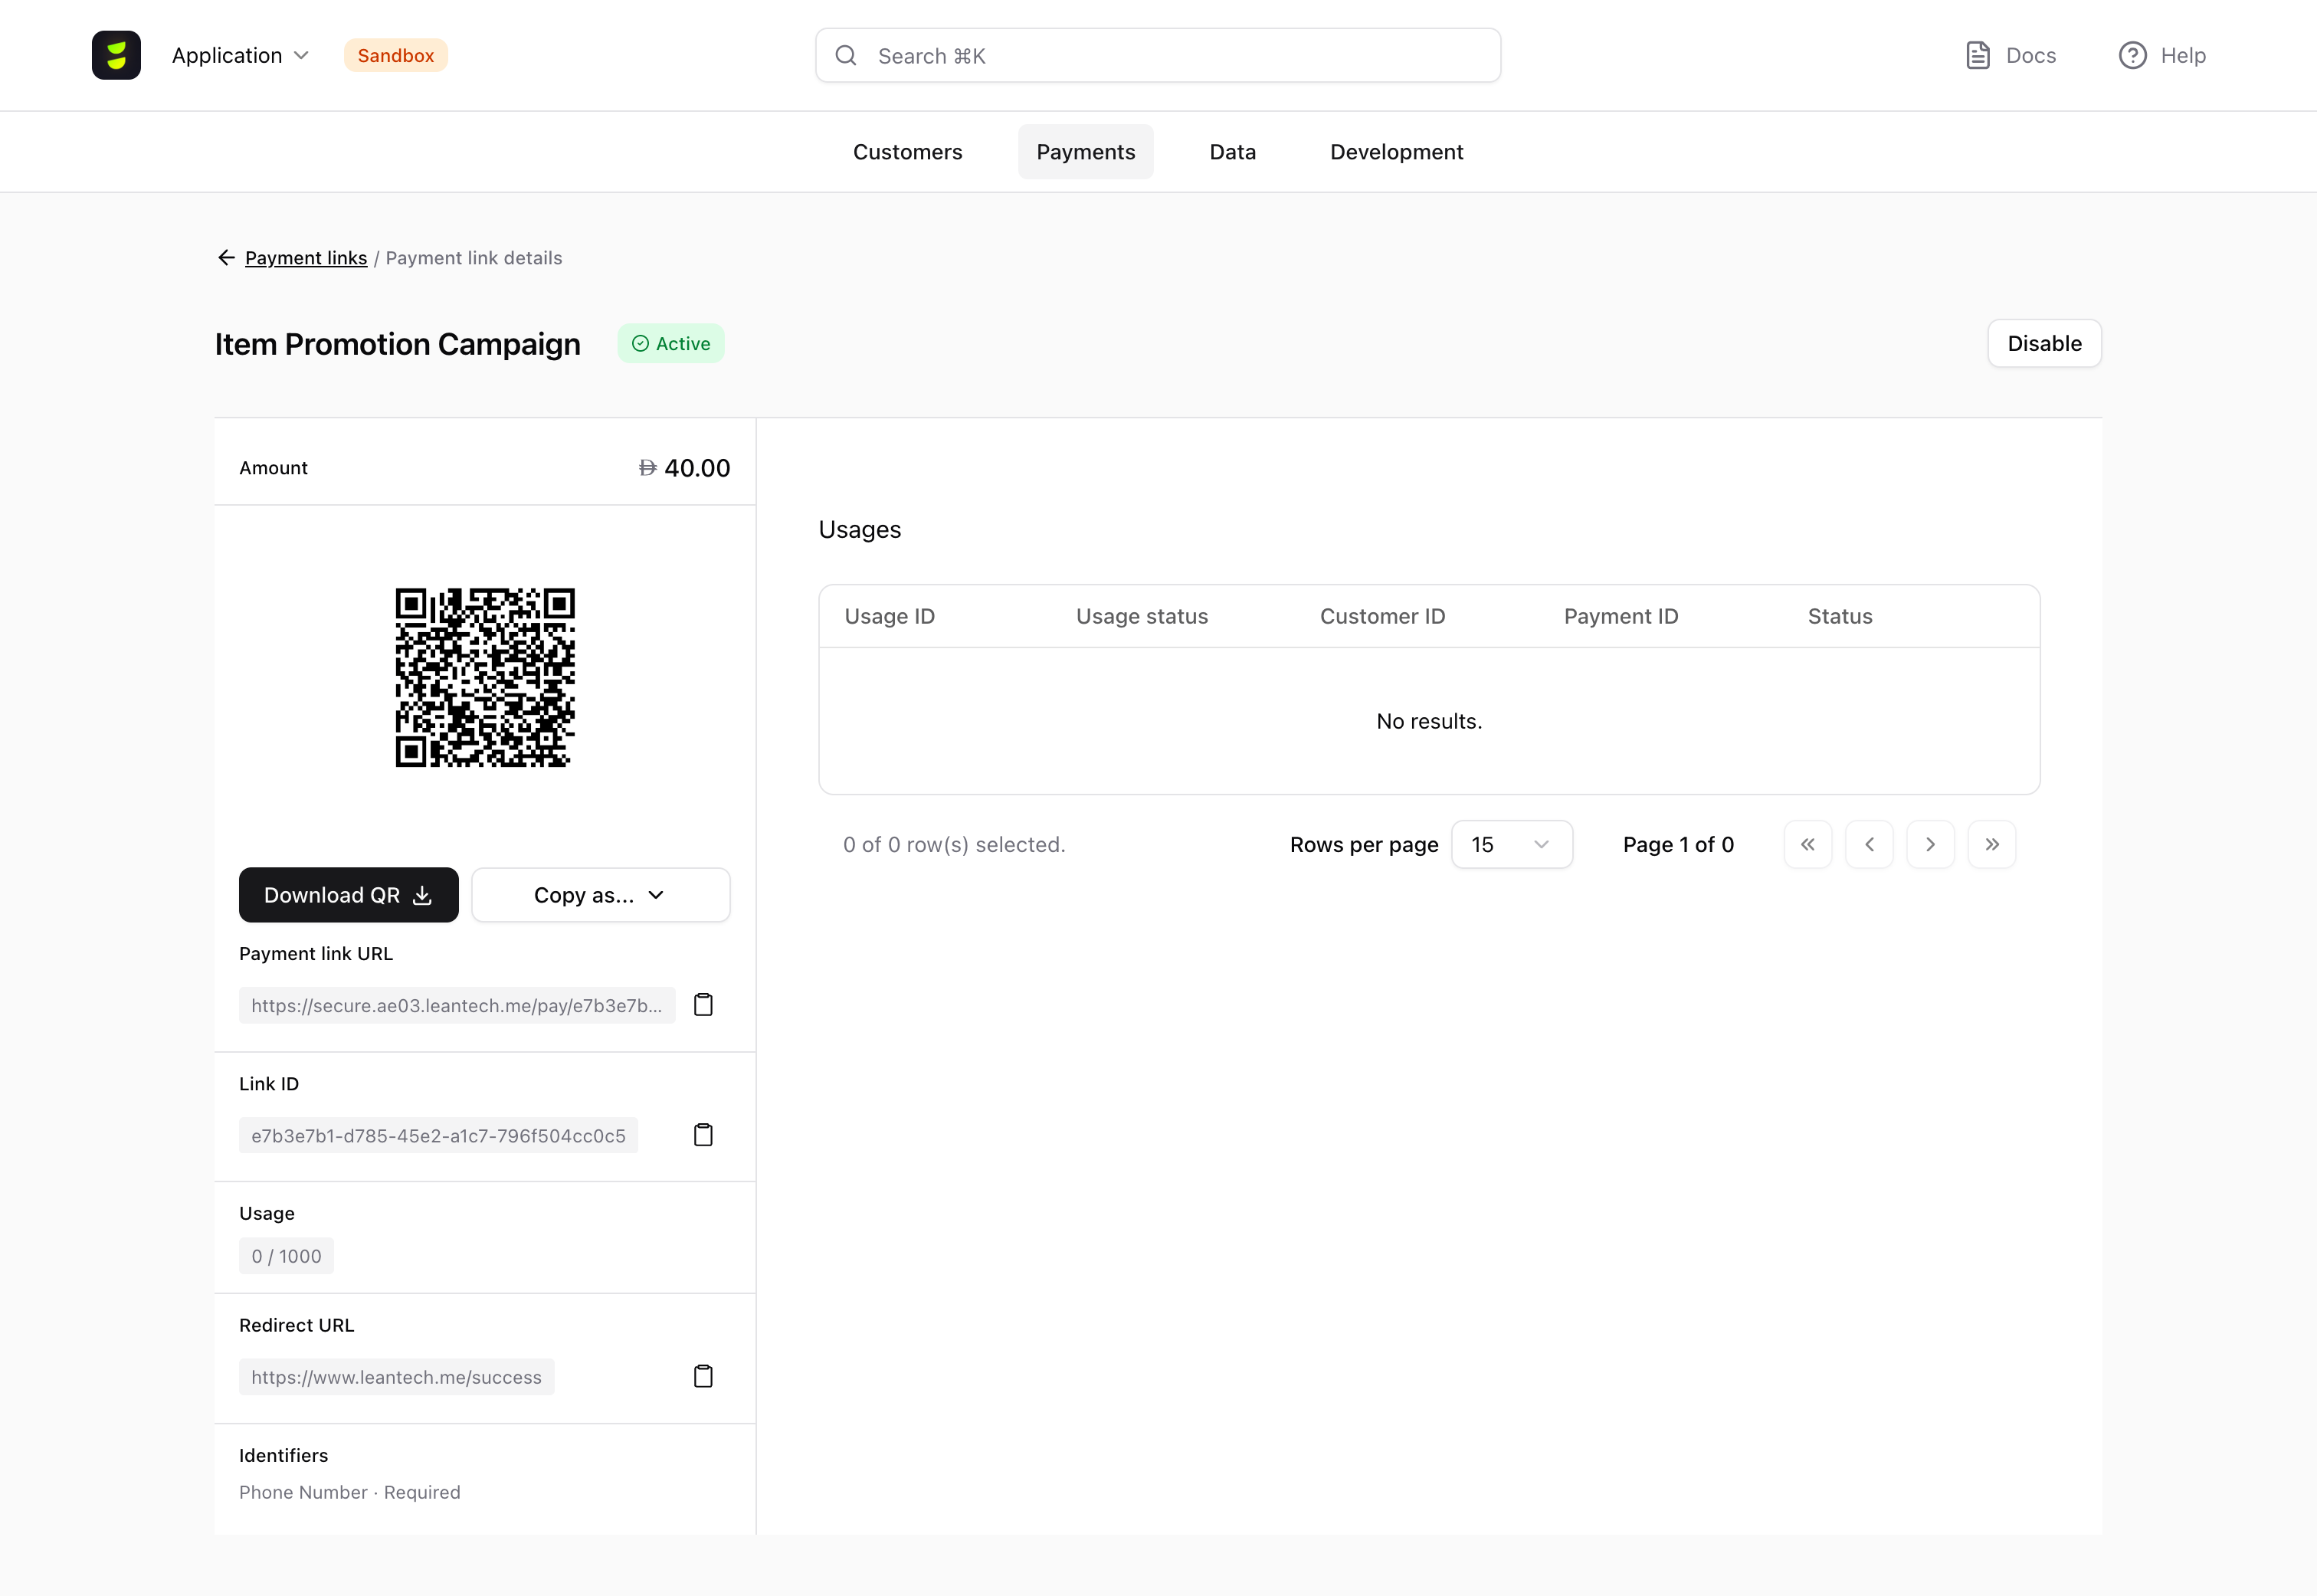
After the link is created, you are taken to the Payment Link details page, where you can copy the URL, download the QR code, and review usage activity.
Configure link behavior
Configure a Payment Link to control how it behaves, what information it collects, and whether you send the customer back to your website or app after payment.
Name the link
Use the Link name field to make the link easier to identify in the Dashboard later.
This field is for your team only and is not shown to customers.
Limit the number of payments
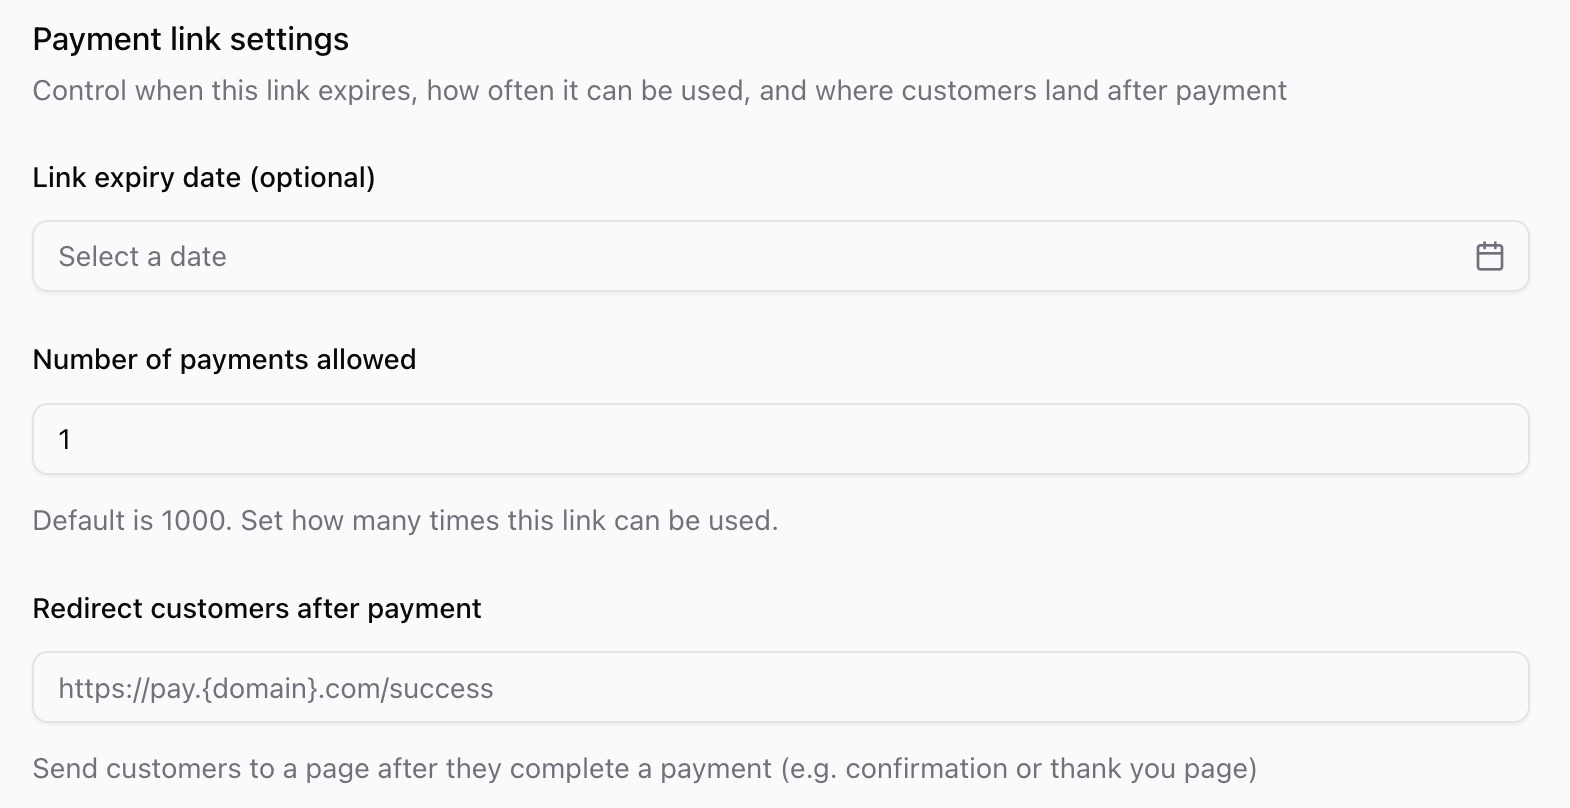
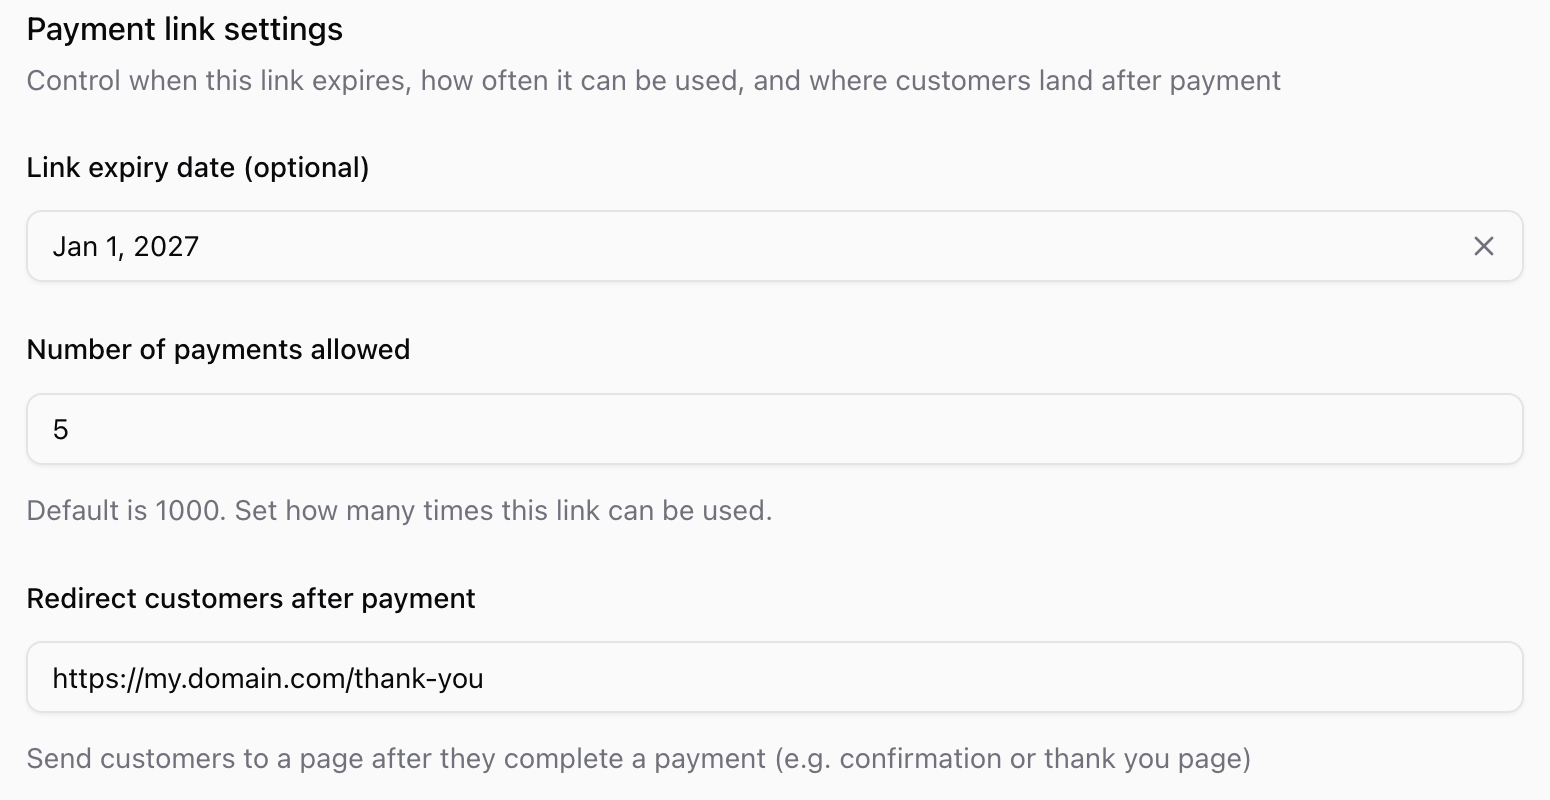
Use Number of payments allowed in the Payment link settings section to control how many completed payments a link can accept.
Set the value to 1 for a single-use link, or a higher value for a shared payment page.
By default, the link can accept up to 1,000 completed payments.
Failed or expired payment attempts do not permanently reduce this limit.
How usage limits work
A usage is created when the customer submits the required identifiers on the hosted Payment Link page by clicking on Pay. At that point, Lean reserves a slot for that payment attempt and creates a usage with status STARTED.
The current usage count shows how many payment attempts are currently using a slot on the link. Some attempts keep a slot reserved, while others release it.
| Usage status | Does it use a slot? | What it means |
|---|---|---|
| STARTED | Yes | The customer clicked Pay, and the payment attempt is in progress. |
| PAYMENT_CREATED | Yes | The payment was created successfully. |
| FAILED | No | The payment attempt failed, so the slot is released. |
| EXPIRED | No | The customer did not complete the attempt in time, so the slot is released. |
If a payment fails, or if the customer abandons checkout and the attempt expires, that slot becomes available again.
A Payment Link becomes USED only when it reaches its configured number of successful payments. Successful payments are usages with status PAYMENT_CREATED.
This means that opening the link does not use a slot. Failed or expired attempts also do not permanently reduce the number of payments the link can accept.
Set an expiry date
Use Link expiry date when the link should stop accepting payments after a specific date.
This is useful for time-sensitive payment requests, such as invoices, registrations, or limited-time campaigns.

Redirect customers after payment
Use the Redirect customers after payment field only when you want customers to return to your website or app after they complete the payment flow.
By default, Lean ends the journey on a hosted confirmation screen that tells the customer they can close the window.
If you provide a redirect URL, Lean shows a button on the payment result screen that sends the customer to your own page.
This is useful for resuming your product flow, handling post-payment steps, or showing a branded confirmation experience.
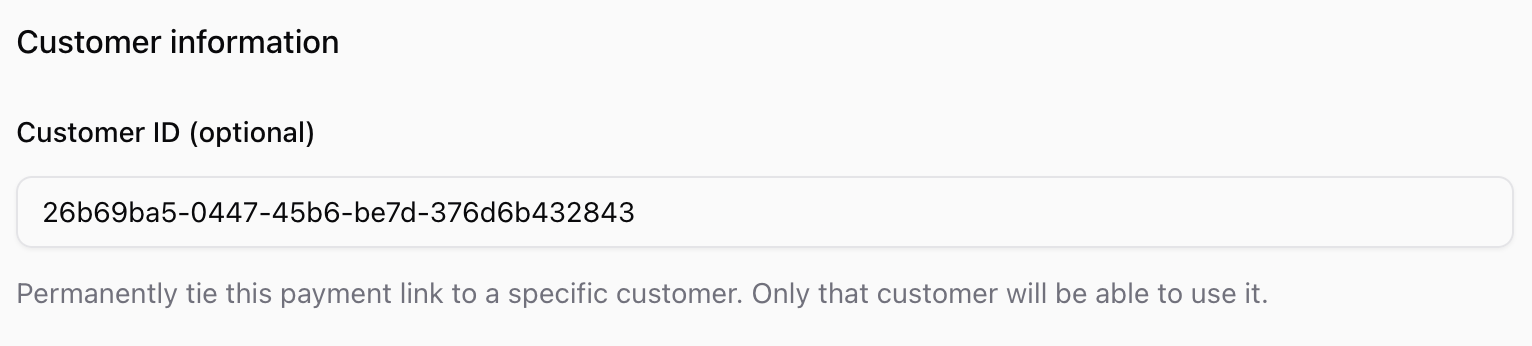
Associate link with a customer
You can optionally provide a Customer ID.
When a Customer ID is set, payments created through the link are associated with that customer.
Change the payment destination
Use the Destination ID field in the Payment details section to choose the beneficiary account for payments made through this Payment Link.
The selected destination must have its bank_type property set so it is compatible with Open Finance payments. To create a new destination or update an existing destination for Open Finance, see Updating Destination.

Collect customer information
You can configure a Payment Link to collect additional information before payment by setting up identifiers when you create the link. Identifiers are pieces of information captured together with the payment, such as a phone number, email address, or other custom text value.
Lean supports three identifier types:
| Type | Use it for |
|---|---|
EMAIL | Collect an email address |
MOBILE_PHONE | Collect a phone number |
TEXT | Collect a custom value such as an order number or employee ID |
Set up identifiers
For each additional field, you can define a custom label and whether the field is required.
By default, the checkout only asks the customer to provide their phone number, select their bank, and authorize the payment.
You can configure a Payment Link to collect additional information before payment by setting up identifiers when you create the link.
Note that phone number is always captured and required.
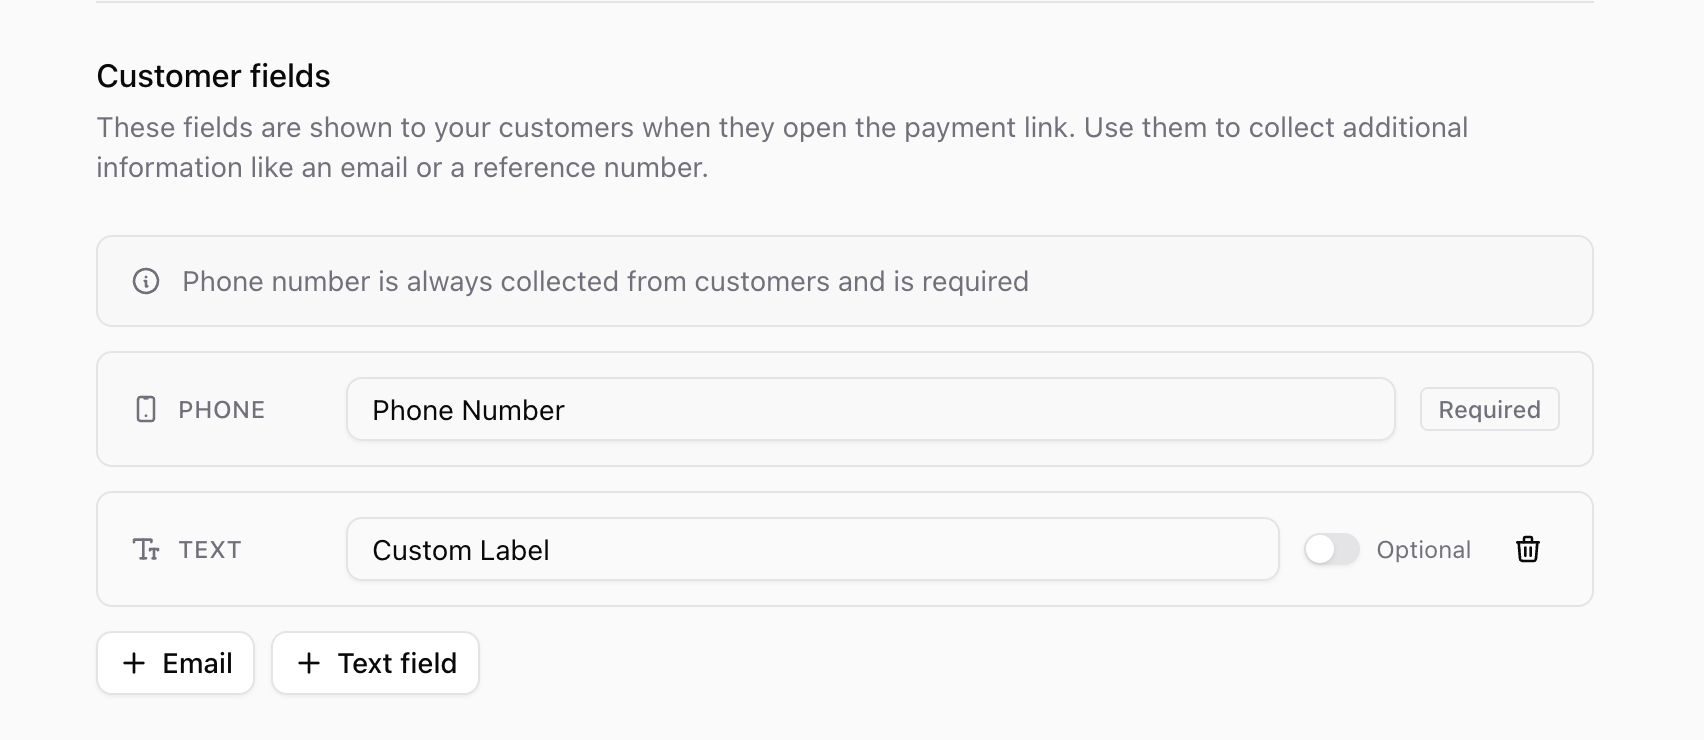
Lean renders the fields in the order you define them. If you do not provide a display_label, Lean uses a default label based on the field type.
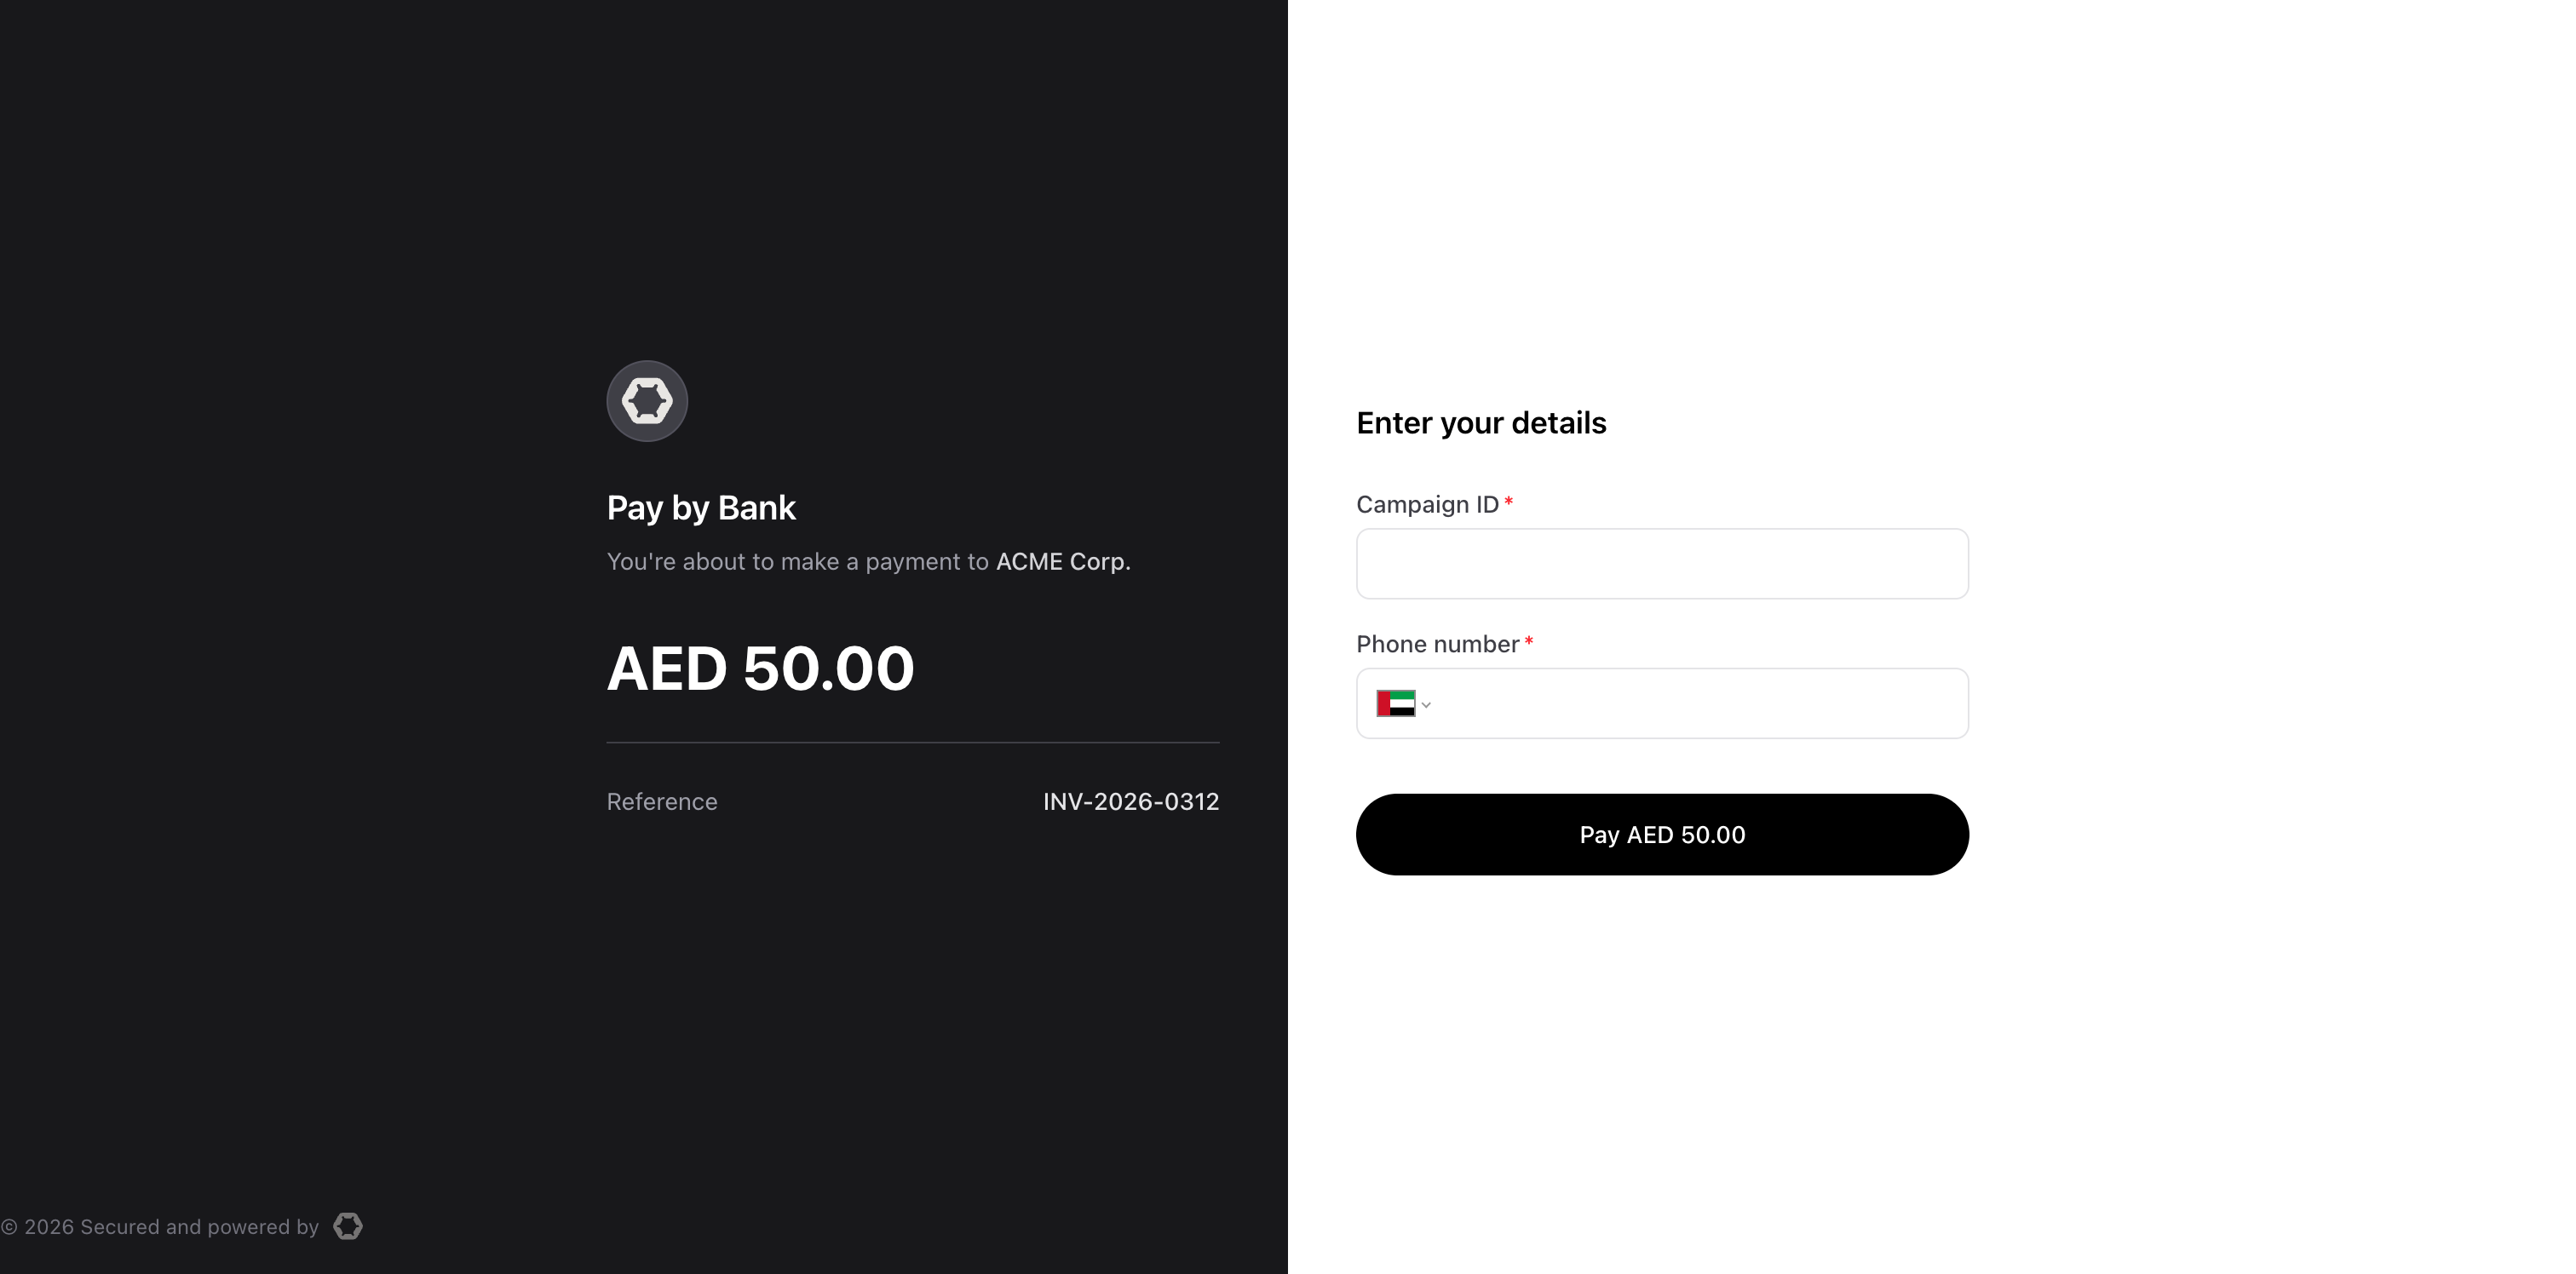
Preview the identifier fields customers will see at checkout
Design customer fields carefully
A few guidelines help keep payment link friction low:
- Only mark a field as required when you truly need it to process the payment
- Use labels your customer will immediately understand
- Keep
TEXTfields short and bounded with a sensiblelimit
Share the link
Once the link is created, share the value in the link field however you normally reach your customer, such as:
- SMS
- an invoice
- a QR code
Your customer does not need to create an account or download any apps. They just open the link and complete the hosted checkout.
You can find more information about managing payment links in its dedicated section.
What happens next
Your customer lands on the Lean payment page, fills in any details you've requested, selects their bank, and authorizes the payment.
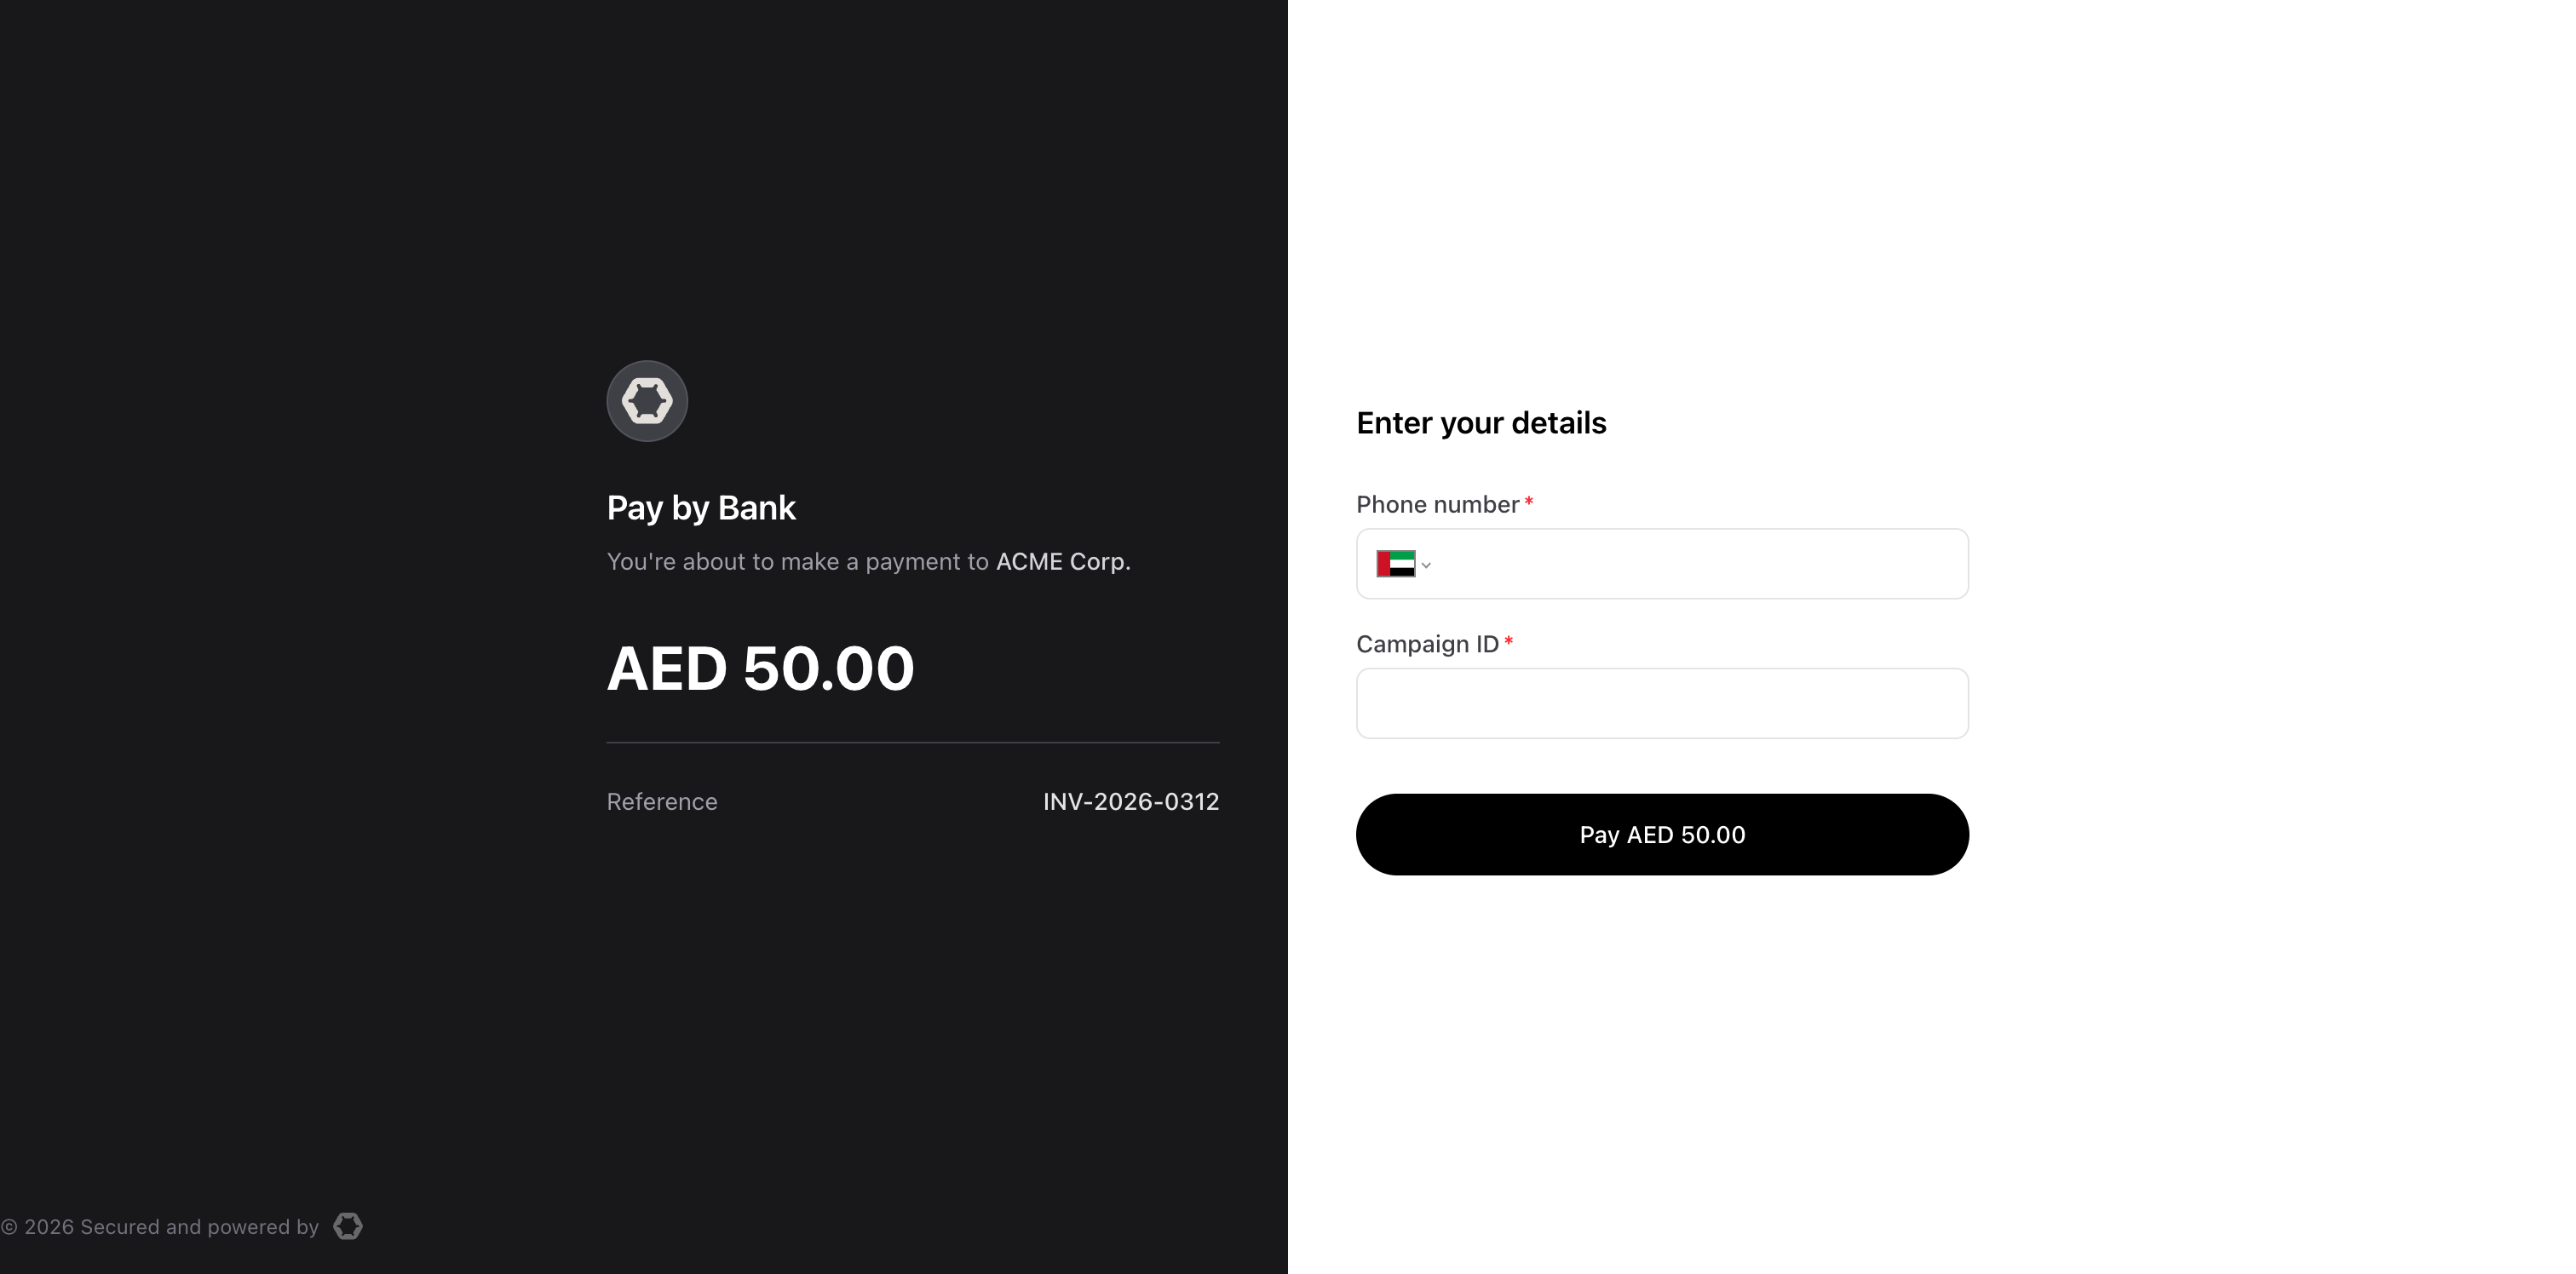
See how a custom identifier appears in the hosted checkout
When the flow ends - successfully or not - Lean shows the payment result screen.
If you provided a redirect_url, the result screen includes a button that sends the customer back to your website or app.
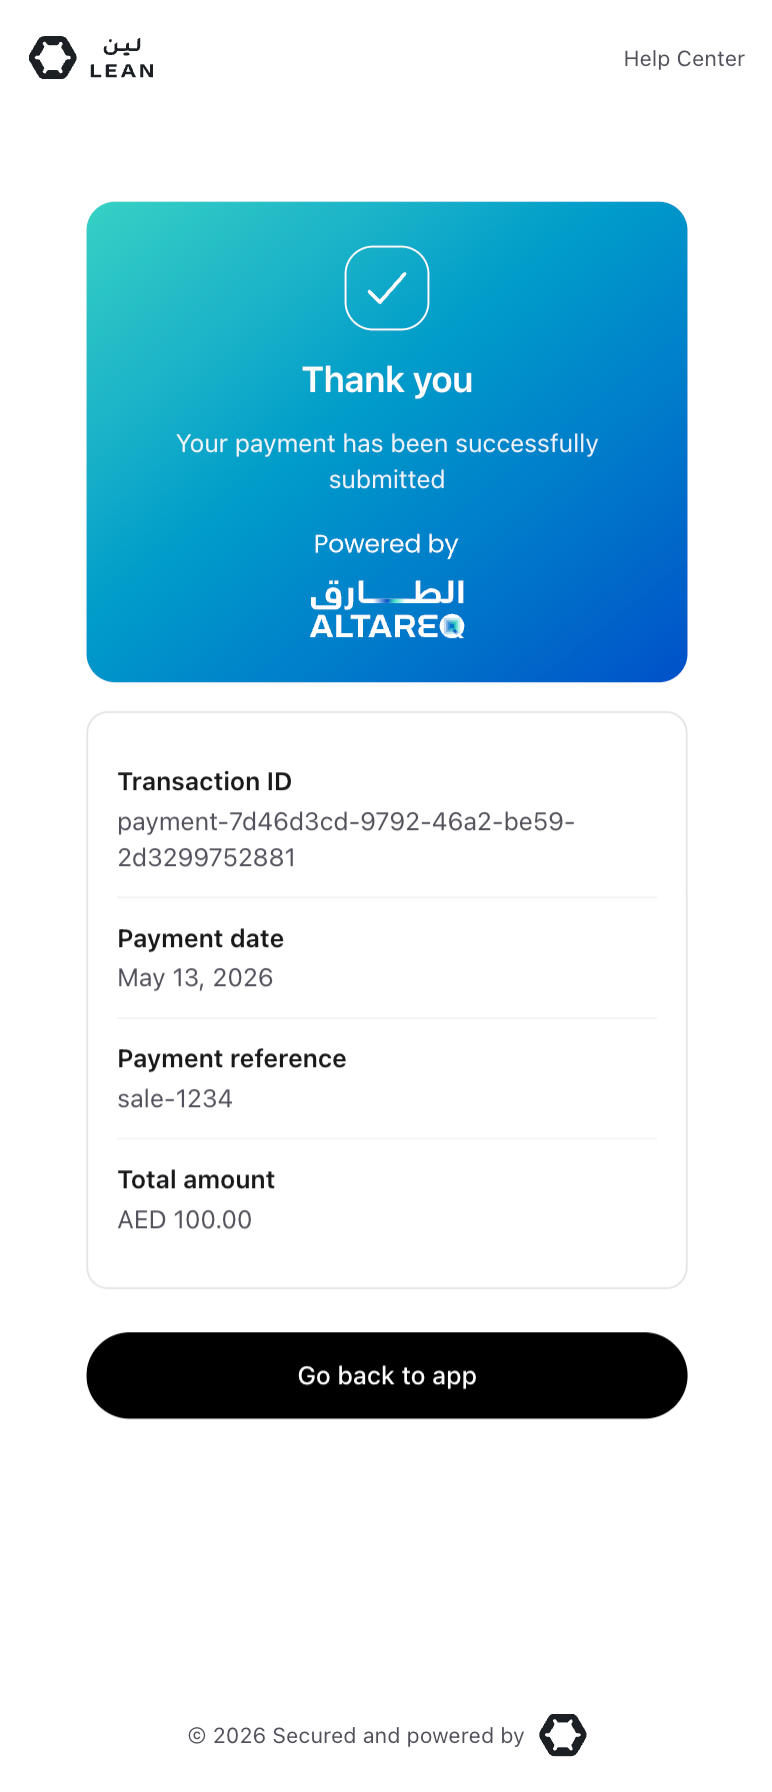
Successful payment result screen with redirection
If you did not provide a redirect_url, the result screen tells the customer they can safely close the tab.
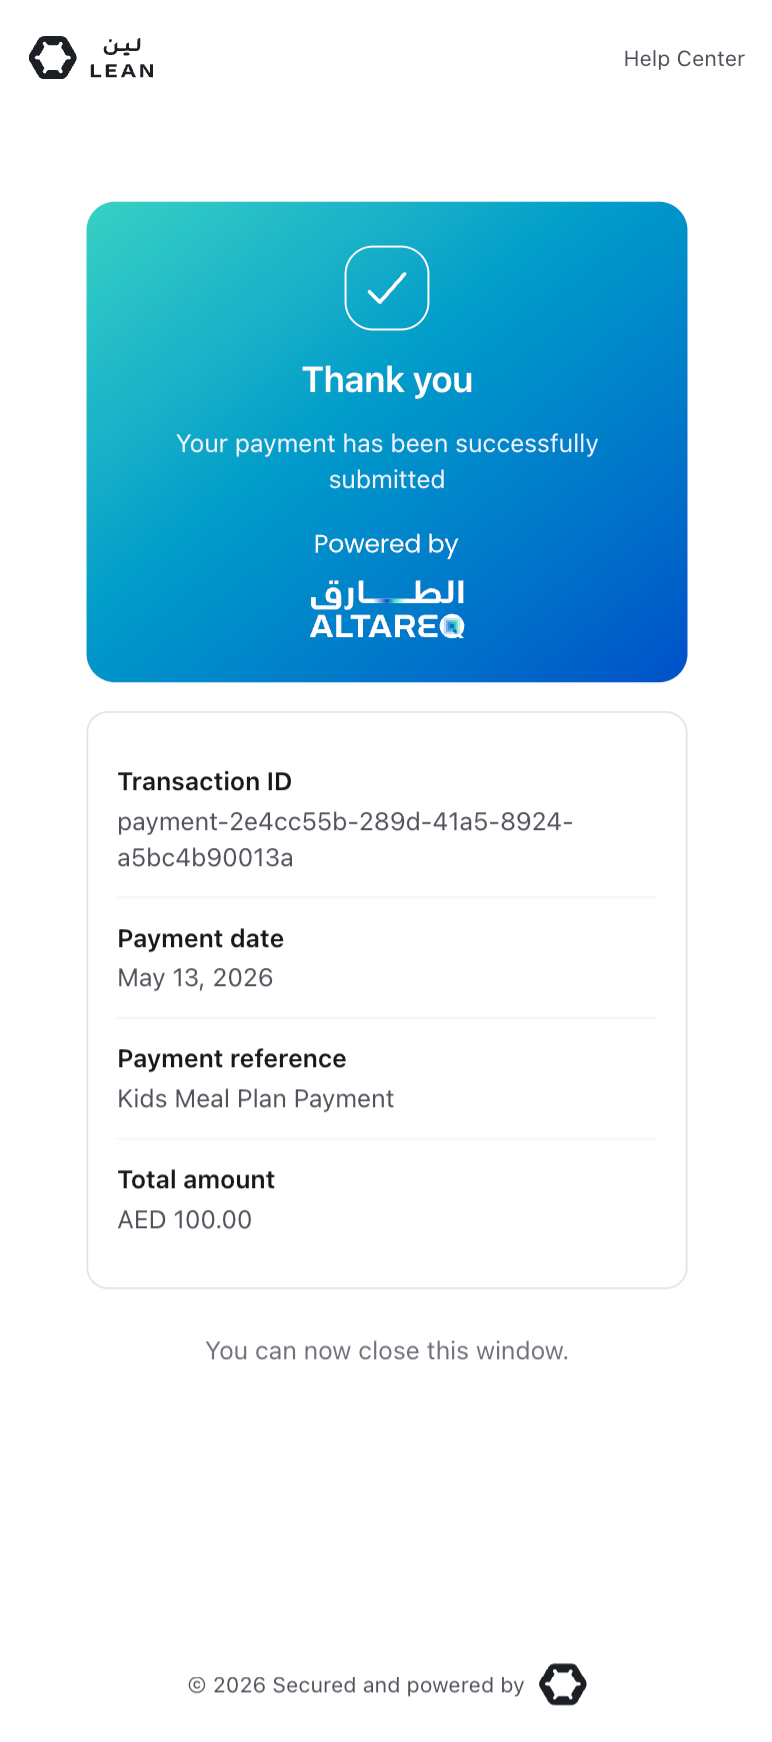
Successful payment result screen without redirection
For details on expiry, usage limits, disabling links, and terminal states, see Payment Link Lifecycle section.
Updated about 1 month ago