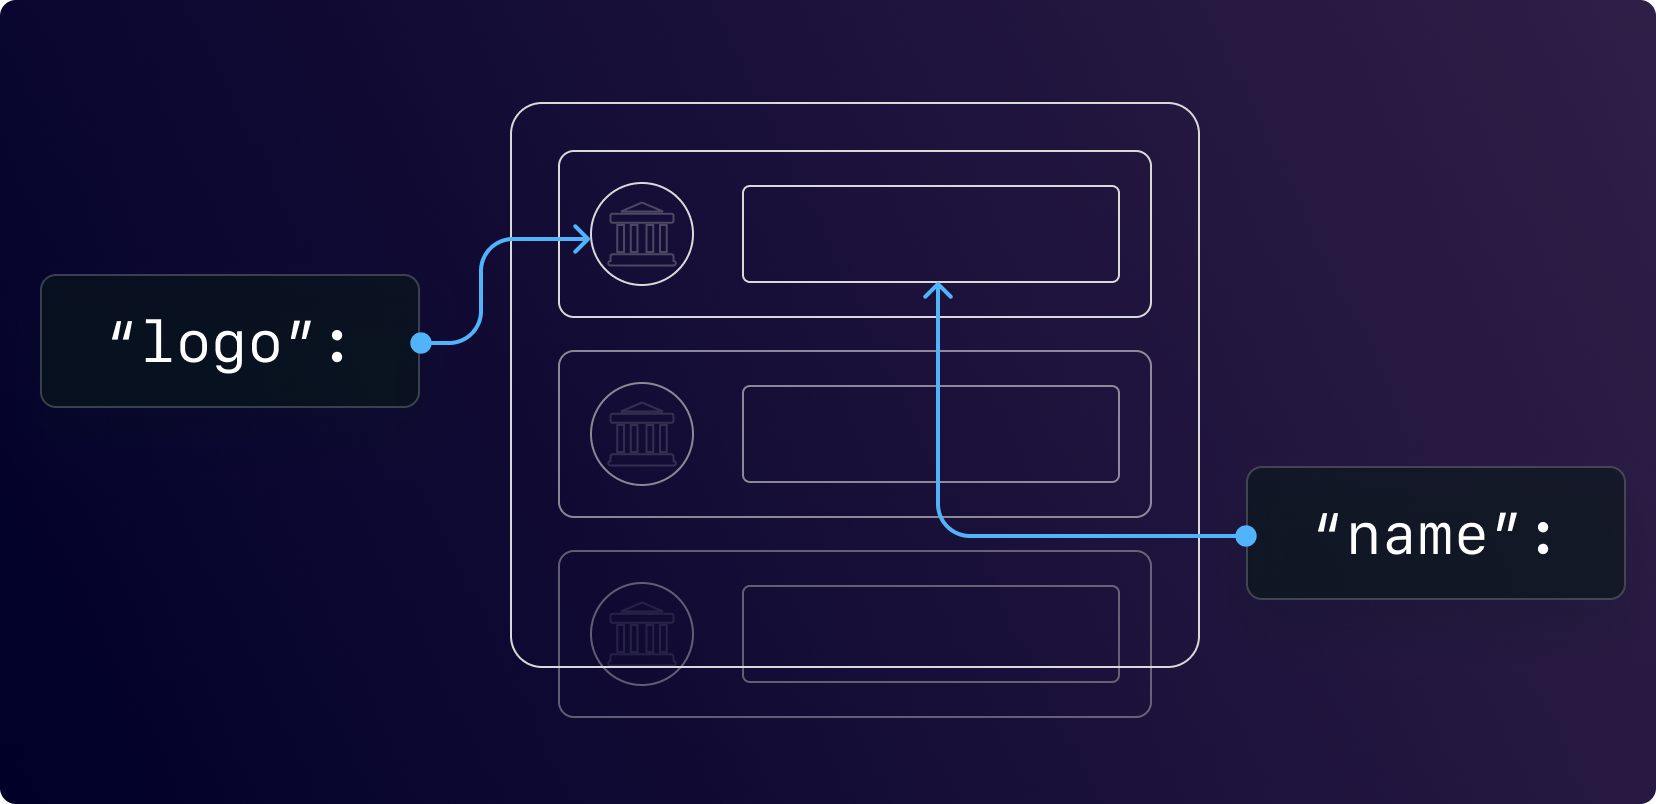
Create your own bank list
Create a custom UI to display a list of banks to your users.

Blueprint of a custom bank list
Overview
This guide will walk you through the process of creating and maintaining a bank list. Displaying your own UI for bank connections can help with conversion, as well as enabling advanced functionality such as payment routing dependent on which bank is selected.
Creating and maintaining your own bank list requires you to handle a number of changes throughout your platform - namely:
- A cache of available banks
- Refreshing the list of available banks
- Programatically taking banks down when their availability changes
- Creating an API to fetch your bank list from your backend
- Rendering the available banks and launching the Link SDK
Fetch and maintain available banks
To start this implementation, first you need to get a list of available banks from Lean. This can be retrieved with a simple backend GET request to the banks endpoint at /banks/v1
$ curl GET 'https://api.leantech.me/banks/v1' \
  --header 'lean-app-token: APP_TOKEN'
This will return an array of Bank objects from Lean in the following format
{
  "identifier": "ADIB_UAE",
  "name": "Abu Dhabi Islamic Bank",
  "logo": "https://cdn.leantech.me/img/bank-assets/uae/glyphs/adib/g-white-adib_uae.png",
  "logo_alt": "https://cdn.leantech.me/img/bank-assets/uae/glyphs/adib/g-color-adib_uae.png",
  "main_color": "#002F69",
  "background_color": "#ffffff",
  "theme": "dark",
  "country_code": "ARE",
  "active": true,
  "traits": [
    "user-input-on-login",
    "auth-credentials"
  ],
  "supported_account_types": [
    "CREDIT",
    "SAVINGS",
    "CURRENT"
  ],
  "transfer_limits": [
    {
      "currency": "USD",
      "min": 30.000,
      "max": 27000.000
    },{
      "currency": "AED",
      "min": 10.000,
      "max": 100000.000
    },{
      "currency": "BHD",
      "min": 15.000,
      "max": 10000.000
    }
  ],
  "international_transfer_limits": [
    {
      "currency": "USD",
      "min": 41.000,
      "max": 27000.000
    },{
      "currency": "BHD",
      "min": 16.000,
      "max": 10000.000
    }
  ],
  "international_destinations": [
    {
      "country_iso_code": "BHR",
      "country_name": "Bahrain"
    },{
      "country_iso_code": "USA",
      "country_name": "United States of America"
    }
  ],
  "availability": {
    "active": {
      "payments": true,
      "data": true
    },
    "enabled": {
      "payments": true,
      "data": true
    }
  }
}
The rest of this guide assumes that you cache this response within your database and models, and run a CRON job once a week to detect for new banks coming online. This will be referred to as your Bank Store from here on out.
You can also now store additional data in your Bank Store that may be relevant for your application - for example you may want to map a specific Payment Destination to users making transactions from this bank.
Handle Bank availability webhooks
Once you have a local store of banks, the next step is to update the bank list depending on availability. Within the Bank object you will see an availability object. When this changes a bank.availability.updated webhook will be sent from Lean to your platform.
Note both active and enabled parameters must be true for a given API for the bank to be available.
{
  "payload": {
    "identifier": "CBD_UAE",
    "availability": {
      "active": { "payments": true, "data": true },
      "enabled": { "payments": true, "data": true }
    }
  },
  "type": "bank.availability.updated",
  "message": "The bank status has been updated.",
  "timestamp": "2022-04-14T16:37:39.710547Z",
  "event_id": "5b776caf-fee3-4c63-9334-6d2697a054f2"
}
Upon receipt of this webhook, your webhook handler should update your Bank Store.
// webhookHandler.js

const express = require('express');
const fetch = require('node-fetch');
const mysql = require('mysql');
const app = express();
app.use(express.json());

// set up your database connection
var db = mysql.createConnection({
  host: "localhost",
  user: "yourusername",
  password: "yourpassword",
  database: "mydb"
});

// Start the application & connect to the database
app.listen(process.env.PORT || 3000,
	() => db.connect(function(err) { if (err) throw err }));

// handle incoming webhooks
app.post('/webhooks', (request, response) => {
  if (!request.body && !request.body.type) { return };

  // run code based on webhook type
  switch(request.body.type) {
    case 'bank.availability.updated':
      return updateBankAvailability(request.body.payload.identifier, request.body.payload.availability);
    default:
      return console.log(`❌ webhook of type ${request.body.type} not supported`);
  }
})

// Update the availability of a bank note: you may need to handle nested json objects differently in your database.
function updateBankAvailability(identifier, availability) {
    var sql = "UPDATE banks SET availability = ${availability} WHERE identifier = '${identifier}'"
    db.query(sql, function (err, result) {
      if (err) throw err;
      console.log(result.affectedRows + " record(s) updated")
    })
  })
}
Create an endpoint to return banks
The last step before rendering in your application is to make your Bank Store available to your application with a simple GET request, that filters out unavailable banks.
// app.js

const express = require('express');
const fetch = require('node-fetch');
const app = express();
app.use(express.json());

// start your application and connect to your database
app.listen(process.env.PORT || 3000,
	() => db.connect(function(err) { if (err) throw err }));

// Set up a GET endpoint for lean banks
app.get('/lean-banks', (request, response) => {

  // query your database for all banks and serialise to JSON
  var banks = db.query('SELECT * FROM banks',
    function (err, results) {
      if (err) throw err;

      var results = results.map((mysqlObj, index) => {
        return Object.assign({}, mysqlObj);
      });
    }
  )

  // filter out unavailable banks
  banks.filter(bank => (
    bank.availability.active.payments === true &&
    bank.availability.enabled.payments === true &&
    bank.availability.active.data === true &&
    bank.availability.enabled.data === true
  ))

  // return the bank list
  response.send(banks)
})
Render your bank list
With the APIs set up for your bank list, you can now render and initiate the LinkSDK from your bank list. Taking particular care to set the bank_identifier parameter.
// bankList.js

import React, { useEffect, useState } from 'react'
import axios from 'axios'

const BankList = (
  appId,
  customerId,
  sandbox
) => {
    const [banks, setBanks] = useState([])

    // fetch banks and populate into state on component mounting
    useEffect(() => {
        axios.get(`https://myapi.com/lean-banks`)
            .then((response) => setBanks(response.data))
      },[])

    // Call the LinkSDK with a specific bank identifier - you may want to put additional rules here based on selected bank
    LeanConnect = (bankIdentifier) => {
      window.lean.connect({
        app_id: appId,
        customer_id: customerId,
        permissions: ["identity", "accounts", "balance", "transactions", "payments"],
        sandbox: sandbox,
        bank_identifier: bankIdentifier
      })
    }

    // render the list of banks in a component
    return (
        <div>
          {banks.map(bank) => (
            <div id={bank.identifier} onClick={() => LeanConnect(bank.identifier)}>
              <p>{bank.name}</p>
            </div>
          )}
        </div>
    )
}

export default BankList
Updated 10 months ago
